5 Tips for Shaving Your Head with a Safety Razor
Shaving your head shouldn’t be a chore. Years ago I started shaving my head, and since then I've made countless mistakes, learned countless lessons, and tried a huge variety of shaving products for smoothing out my dome. These 5 tips, based on my personal experiences, will help you get the most out of your safety razor when shaving your head.
5 Tips for Shaving Your Head with a Safety Razor
1. Prep, prep, prep!
Warm towel, preshave, and a proper cream are your best friends. The softer your hair is, the easier your blade will cut through that stubble. Get that hair soft with a hot, damp towel applied to the skin for a minute or two before the shave, or shave directly after a shower. Better yet, do both!
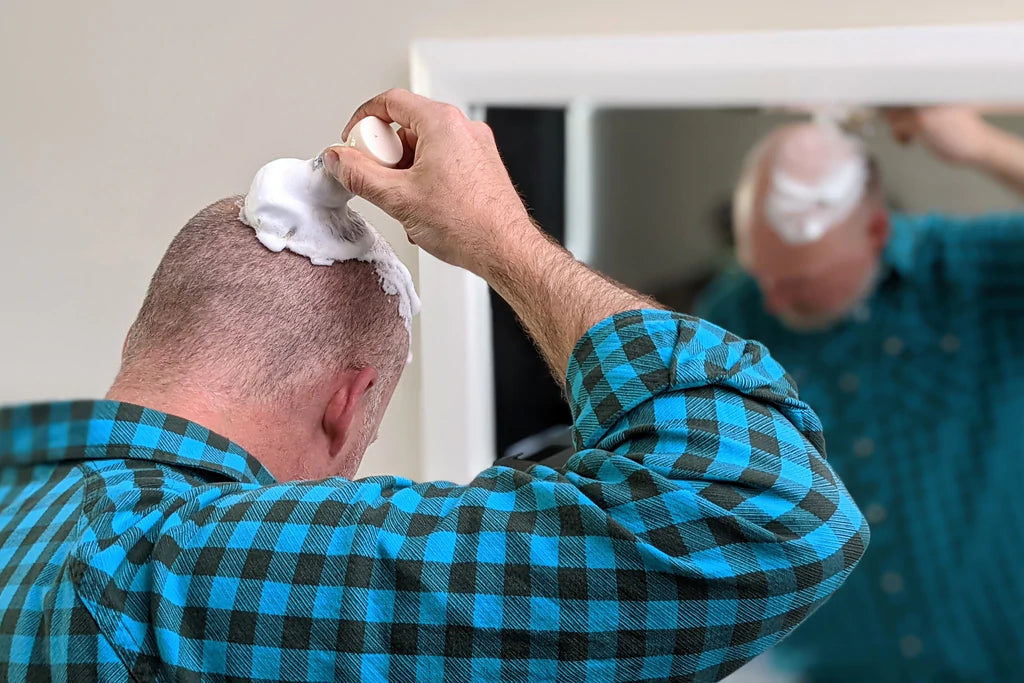
You can further soften your hair with a good preshave gel or oil and a shaving cream. These will also lubricate your noggin, which is equally important to a good shave. I like a preshave oil because it makes things extra slick, and I follow with a big fluffy lather. While a brushless shaving cream, like Schaf, will work fine, you’re better off using a proper shaving brush and shaving cream. The brush will exfoliate your skin while you lather, and make those hair even softer, lifting them into the lather and preventing ingrown hairs in one smooth motion.

2. Use fresh blades, and change them often.
Safety Razor blades are pretty inexpensive, it’s one of the things we like best about them. If you start to notice them tugging whatsoever, especially after all that prep, pop your blade out and dispose of it safely in a blade bank, then load in a new razor. I change my Feather blade every couple shaves.
On that note, you’ll also want to experiment with different blades. The skin on your head is relatively tough compared to your face, so I would suggest starting with some Kent of Inglewood Milds, then moving up to Kai, Feather, Personna, and Merkur once you get a little confidence.
3. Know your melon.
Make sure you have a solid road-map of your noggin before you get to shaving. Knowing all the nooks and crannies and any things that might not want to bump into the razor’s edge will go a long way to preventing nicks. Give your head a good feel when you apply your preshave, and try to keep a mental note of any irregular spots. Don’t worry, we all have them. Once you’ve done your first pass, feel around again to search for low spots you may have missed. It’ll be a lot to remember at first, but soon it becomes second nature!

4. Keep a styptic pencil or alum block at the ready.
Oopsies happen, so be ready to clean up any small nicks or cuts that happen as part of the learning process (or a rushed shave when you’re running late). You might take a left instead of a right because of the mirror, you might not change your blade soon enough, you might just be moving too fast. Alum blocks tidy up little nicks by constricting blood vessels and slowing the flow. They’re also a great antibacterial treatment. Styptic pencils are good for those prone to more serious scrapes, perhaps a rogue mole that always gets in the way. They clot blood, stopping the flow in its tracks.
5. Most importantly, enjoy the process.
Especially when you're learning, take your time. The shaving process can be very meditative and relaxing, heck, half the reason I use all this fancy shave gear is because it's fun! Allow yourself to be renewed and invigorated by the experience, you are going to look great when you've finished!
I hope this helps you master your new head-shaving razor. Once you get the hang of it, you’ll never go back, but it can take a few tries to get right. If you’re still not quite there, check out our other articles on shaving, visit us in person for advice, or message us online and we’ll be happy to help!


